We’re at the stage where things have to get really hands on before we can make progress. The two major things we need to do are arrange aluminium paneling, and fit the brake lines. Our intention is to do this “ourselves”, without buying the pre-made kit. While this should save us some money, it’s a slow process of finding out all the bits needed, what they are called and where they all go. You can’t phone up a hydraulic shop and say “I want a funny copper-coloured thingy that is part of the braking system”. They get rude. Yes, I found that out myself.
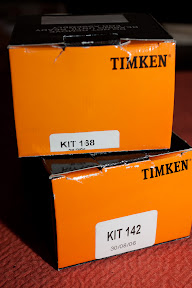
What we have done is bought some more bolts (bolt list will be created) and some rivets. We’ve also got our front wheel bearings. Much advice was given on the forum, with the conclusion that it’s better to spend more to spend less. They are Timken kits, and come quite well recommended. The left and right kits are different (142 vs 168), but the only real difference is that the hub nut for the reverse thread side is a different colour.

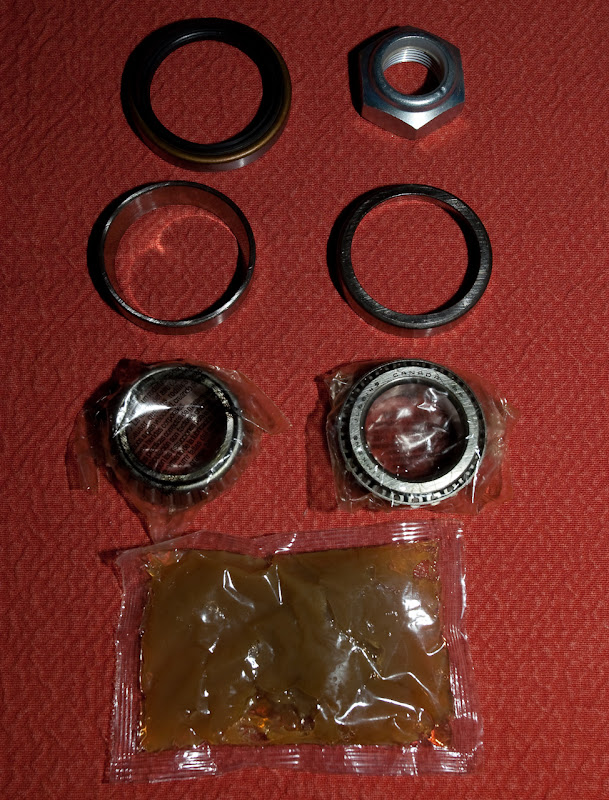
The kits include bearings and outer races, hub nut, oil seal and even a packet of grease.

As for the rivets, the chief concern has been the angle for countersinking.

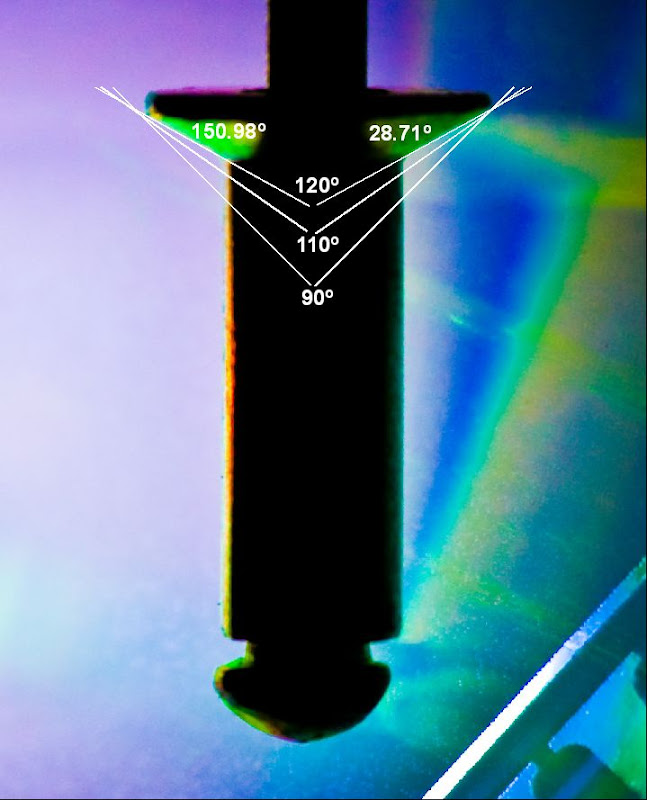
I have read some posts that indicate that the angle is probably 110°, however I thought I’d check. So I took a macro photo with my close-up lens, strongly back-lit to cast a silhouette. Then I upped the contrast and saturation to emphasise the rivet, and measured the angle on the PC. There are probably better ways to enhance the image, but I thought the result looked cool. As can be seen from the picture, the best fit is 120°.

The amusing thing is that none of the hardware stores I called knew about this. The one that the rivets came from tried to sell me a 90° countersink bit, for R180. Nobody else could offer a suggestion on how to perform the countersinking. A comment from a colleague and a bit of googling provided the answer. General purpose metal drill-bits are usually sharpened to 118° – which is close enough. So some form of depth protection will be created (possibly a tube of the right length serving as a guard) and a normal 6mm bit.
Now to order the aluminium and figure out all the right bits for the brake system.
B
Hi
Regarding the bearings, how many kits are required?
Cheers
D
Hi, thanks for the comment.
You need one kit per wheel. But left and right are different (left is 142, right is 168, I believe). So if you were servicing a normal car, you would need one 142 and one 168 kit.
Hope that helps.
B
Hi
Thanks for the response. Your build diary is definitely one of the more informative around, thanks for making the effort to do it!
So, dof question, if I need one kit per wheel, and you say I need one 142 and one 168 kit, that sounds like the only the front, or rear, are catered for?
Cheers
D
Hi D
I’m glad to hear the diary is useful. There have been times I’ve wondered if anyone reading it thinks “why is he writing this stuff, it’s obvious”. Certainly very little has been obvious to me! So on the same note, there are no dof questions.
The bearings we’ve been talking about are for the front only. Specifically for the Sierra or Sapphire front uprights. For the rear it depends on how you are building. I started describing it all in this comment, then realised it was worthy of a page. So read this page, and see if that answers the rest of your questions.
Cheers
B
Hi
Aha! Thought I was missing something! Thanks very much!!