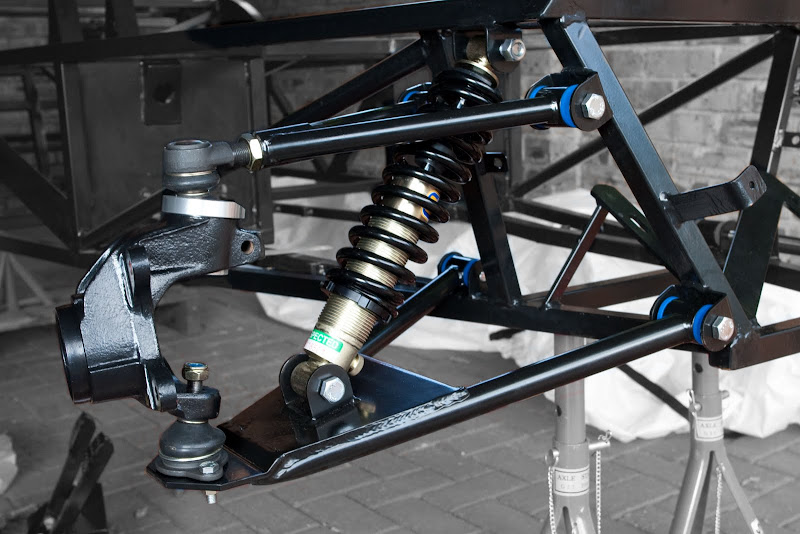
That is an optimistic title – it’s not really looking like a car. However, it has some bits that can be recognised as coming from a car. If you look closely at those bits, you’ll notice they are in the wrong way round, but they are in nonetheless.
Before we could do any more work, we needed bolts. This takes a little time, as there are some recommended things to do. The first is to use high-tensile bolts. They are not much more expensive than the regular bolts, and certainly a lot cheaper than replacing whatever part fell off when the non-HT bolt snaps (and then there’s the medical costs). But HT bolts come in boring (and rust-prone) black – to improve their aesthetics they should be galvanised. This makes them a nice shiny colour, and is worth the extra effort for this alone.
However, this whole galvanising process takes a few days (min 24 hours, but it took a weekend plus 48 hours for our bolts). It is priced per kilo, we paid a whole R8. However, to do work on the weekend we needed temporary bolts – these were bought over the counter, non-HT. We’ve notified our medical aids.

On Saturday we started trying to fit all the suspension bits and pieces. It is an alarming array of parts – some with very subtle differences with regards to how they are fitted. However, a bit of trial and error saw us through for the most part. Referring to the various downloaded build-manuals also helped, and when we were done we were able to see quite clearly that the front upright was on the wrong way round, and the rear top wishbone connected to the wrong part of the rear upright. Good thing it was only ever meant to be temporary.

Another job needing doing was fitting the pedal box. It is a new design, and the chassis has not been modified to accept this particular type. This is apparent when you try to line the holes in the box up with those on the chassis. Remarkably two of the cylinders can be fitted without modification, but the holes for the third cylinder needed to be moved about 6-7mm. A dremel tool, a small file, a large file and finally an 11mm drill bit were called in to assist. It was not tidy, but got most of the job done. A trip to the hardware store the following day provided a coarser file (called “b@stard” – who knew), which finished the job in no time.

We were curious to see how well the diff fitted, so we dragged it along and tried to fit it. Our bolts are too long (although it does seem to take M12’s) but it did allow us to see where it goes. We can now finish the diff refurbishment, replace all the missing grease, oil and seals, and put it in.
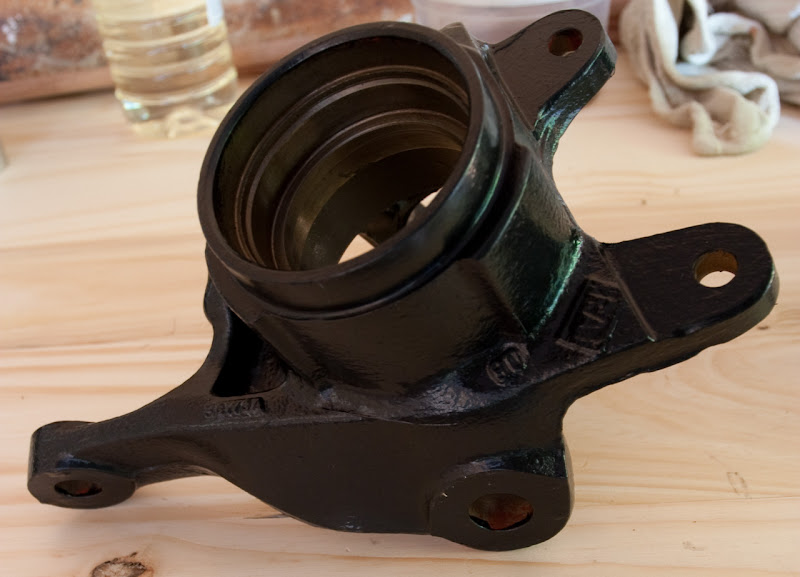
To make things pretty, the front uprights, diff side-shafts and various other loose (and rusty) bits have been painted. It’s certainly a vast improvement over the rusty mud&grease-covered components they were when they first arrived.
Our plan for the way forward is to get some of the aluminium panelling in. We don’t want to restrict access to the chassis, considering all the brake lines and wiring still to be put in. However, we also want to fit the floor while we can turn the chassis over. So we’ll drill the holes for the transmission tunnel panels (because this is hard to do with the floor in place) and then we’ll permanently fit the floor. Just have to get the aluminium now…

It feels like good progress.
B