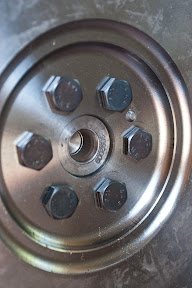
I can still remember, how that building used to make me smile. And I knew if I had my chance, that I could make that Locost…
Building has recommenced, after a break of almost two months. Sometimes one has to bow to the demands of the job. And when those demands take you to far-off lands, it’s tough to bring the chassis along with you. So it was good get the hands dirty and full of little splinters of metal. Ah, the joy of building.
We started with a visit to the scrapyard. Our outstanding bits include the yoke (connecting the gearbox to the prop-shaft), alternator mounting bracket and alternator pulleys. Hermann actually gave us a yoke, but it seems it’s for the smaller gearbox output shaft.
I can’t help but feel a little sad when going to scrapyards. Hundreds of engines, diffs and gearboxes all just lying around. Like organs for sale. Those once belonged to Daddy’s (or Mommy’s) pride and joy. They came home one evening, and said to the kids “come look outside”, and got all the “wows” and “hoorays” – Daddy has a new car. Now that pride and joy is an unidentified chunk of metal rusting on the scrap heap. And that’s not even contemplating the final act that may have caused it to be there. Sheesh, that got melancholic rather quickly.
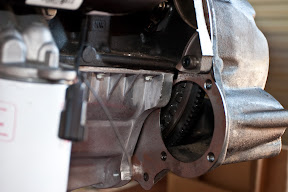
Anyway, on a cheerier note, the visits were a complete waste of time. Scrapyard 1 was completely closed, despite a confirmation call the previous day saying it would definitely be open. The others had prop-shafts, but not exactly what we needed. The alternator mounting bracket, as well as pulley, were a complete loss. Then they all closed. We did find out (thanks Brad) that actually the guy who makes up the prop-shaft can typically source the yoke anyway.
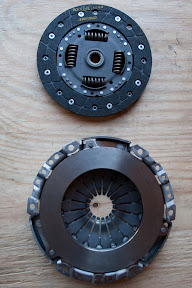
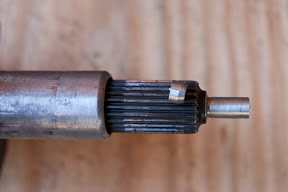
For the afternoon we decided to sort out the fit between the gearbox and the engine. Previously we had machined the end of the gearbox input to 10mm. However, the pointy bit is too long and must be cut down a bit. To avoid changing the steel tempering (hardness) we decided to cut this the old fashioned way – hacksaw. But first we needed to measure how much to cut off.
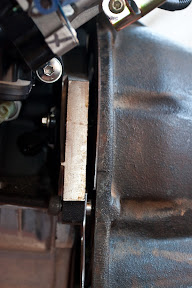
So we removed the clutch pressure plate and clutch. Then assembled the engine, bellhousing and gearbox. Remember to attach the bellhousing to the gearbox first, not to the engine. We knew this, of course. The photo is just demonstrating the wrong way to do it.
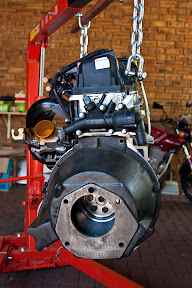
Now because our gearbox needs to have a bit chopped off, there results a gap between the bellhousing and the engine. We adjusted the various bolts to ensure the gap was even the whole way round (check with the vernier), and then took that gap as being the amount to remove. The whole shebang was disassembled and then the tip was lopped off at the right place (well, more or less). Be warned, that thing is made of hard metal. You’ll need a good quality hacksaw blade to get through it (or rip the teeth off a cheaper one).
A file was used just to neaten it up a bit, and we’ll probably give it a last touch-up with a grinder. A bit of water-paper to polish it up.
The reason for all of this is that unlike a FWD gearbox, the RWD needs to be supported in the crank. The crank has a 15mm hole in it, for which a brass bush has been made. It’s 15mm OD, and 10mm ID. The gearbox fits into the bush, providing the necessary support. Since these only spin at different speeds when the clutch is disengaged (i.e. no load), it’s hoped that the bush will be sufficient.
Next up will be engine mountings, since we have now sourced all the materials we need.
B