It’s been several weeks since the last post – and I think it’s fair to say that the lack of progress on the blog is as a result of fairly heavy work on the build. Well, that’s my story and I’m sticking to it.
One of the things keeping us busy over the last week or so has been to sort out and finalise the parts that go through the transmission tunnel. Once all the panels are in place, access will be a lot more restricted. The parts are fuel lines, brake lines and wiring loom.
Of course, you can’t just get what you need, you have to start at the end and work your way backwards. So we’ve now got both the front and rear calipers, which are needed to get the sizing of the brake inlet. The size of the Wilwood brake cylinder outlet was a bit trickier, since there is a mysterious brass fitting attached. Two emails to Wilwood solved it, and the information is below. With all the sizes known we could order the brake lines; these have been delivered. We had plenty of much-appreciated help in this regard – the Locost community is awesome!
The sizing procedure involved:
- Initial length estimates of the bundy tubing- with a measuring tape
- Final length measurement – done using normal fencing wire and cable-ties
- Sizing of the inlet to the front calipers (it’s M10x1)
- Sizing of the inlet to the rear calipers (also M10x1)
- Sizing of the outlet of the brake cylinders (3/8-24, but it comes with a 3/8-24 inverted flare to 3/8-24 fitting)
The rear calipers are mounted to the upright using M10x1.25 bolts, whereas the front Bantam calipers are normal M10 bolts (I believe the thread is M10x1.5).
To start your wiring loom, you simply have to mount some 7-core trailer wire through the transmission tunnel. Autozone had the cheapest wire, R11/m (compared to Midas, at R35/m). Then some 10mm plastic split cable sleeving has been acquired (about R3/m) which will add another layer of protection to our wiring. You could go bigger on this, but we’re going to see if it’s possible to keep it slim.
A very informative forum discussion was quite conveniently started, on how to approach the wiring (link). Although much of that will be for later stages, at least it gives some guidance on where to start.

We’ve bought our fuel lines from Locost SA. These still need lots of bending before they can be fitted.
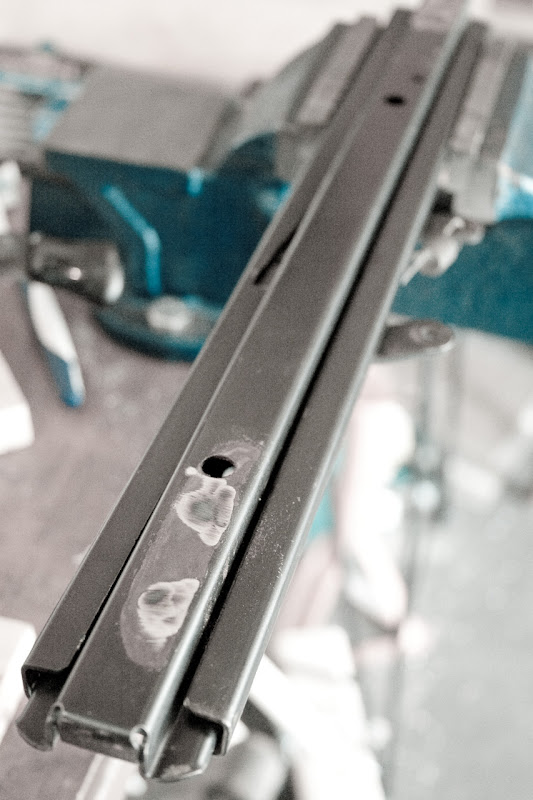
Our recently-acquired donor parts have been cleaned (handbrake, cable, seat runners), and the steering column was painted. I’ve started chopping the unnecessary brackets off the seat-runners, although this is quite a violent job. Lots of sparks spraying around the garage!
We’ve been hard at work sourcing the brake disks for the rear, and ultimately have decided to go the easy route – Locost SA.
On the car itself we’re almost finished the panels. This task should not be underestimated – you can spend 4 hours and still make what feels like little progress. The old adage applies – measure twice, cut once. The jigsaw has been superb, cutting at pace and quite neatly. A small amount of filing takes off the rough edge, and then you can get as pedantic as you like with water-paper to make it smooth.
What slows the process down is that the welds at all of the chassis joints sit proud of the surface, and thus lots of cutaways and adaptions have to be made to ensure the panels fit flat against the chassis structure. Another lesson learnt the hard way is not to assume that the chassis is exactly mirrored. It’s impossible to weld a perfectly symmetrical chassis, so each side had to be measured independently.
Something else we found was that even though it should fit in a certain place, it may not be possible to place your panel there. We made beautifully-size back panels, only to find that the chassis structure gets in the way while trying to place it. We had to cut one of the edges off to make it fit. A similar problem was found with the front transmission tunnel panel on the driver’s side.

Thus far the only folding we have done is for the top of the transmission tunnel. To fold the aluminium, we clamped it between two aluminium square bars, and then slowly tapped over the folded edge with a rubber mallet. The trick is to use fairly gentle strokes, and work your way along the edge slowly and repeatedly. The rubber mallet didn’t even damage the laser film on the aluminium.

The next big job is the two side panels. This will involve some large folds, as well as some complicated cutting – we’ve been psyching ourselves up for it. Hopefully we’ll finish them on Tuesday. For purely technical reasons (not because it’s MUCH easier) we’ve decided to try a simple cutout rather than individual holes for each part of the wishbone. It’s likely to improve airflow through the engine bay, and hopefully won’t even be noticeable behind the wheel and front fender. Of course we’re open to counter-suggestions.
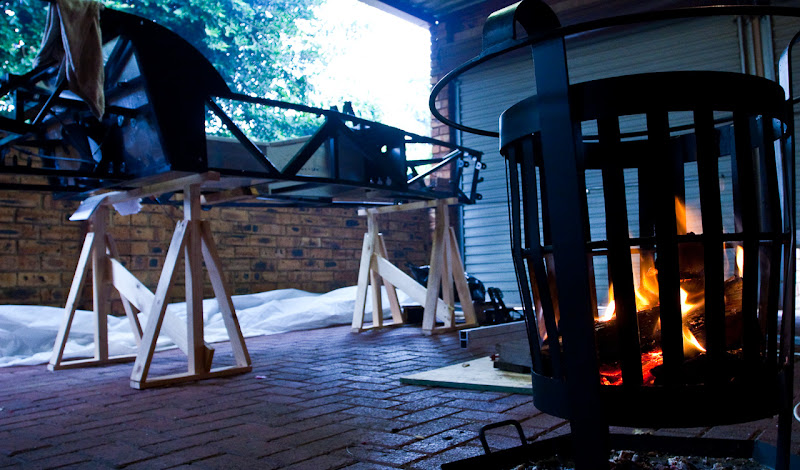
Winter is on it’s way, which means cold hands and early evenings. At least we’ve got our fire to keep us warm.
B


Nice Ben! I’m very impressed that you are building a car. It’s like you’re the star of a Discovery channel program. I am excited to see how the progression of the bad facial hair is progressing too.
When you get bored of the race car and want to hang it up on the wall. Will there be enough space next to the climbing gear, fishing equipment, air-rifles, base guitar and photography equipment?
First comment – cool!
Yeah, yeah, so I have a lot of hobbies When last did you take your guitar off the wall? Oh, and your video camera. Hmmm, and didn’t you also build a car – a small one…?